

Article: The stages of making a hair jewel - Ozaelle
The stages of making a hair jewel - Ozaelle
What particularly surprised me when I first discovered the world of jewelry making was the number of different crafts required for their creation.
Here are the key steps in crafting an Ozaelle hair accessory, made by passionate expert artisans. Each step requires very specific skills.
- Design Once I have envisioned the jewelry and sketched it on paper, the design is formalized by a designer—either in 2D if the piece is to be made by cutting a brass sheet, or in 3D if the piece is to be made with a mold.

3D Design of the Oren Comb
- Tool or Mold Creation The required expertise varies depending on the production process:
- For jewelry made by cutting sheets (like barrettes): A brass tool is created from the 2D design, serving as the foundation for all future productions of that model.
- For jewelry made with molding (like combs and hairpins):
- 3D Printing: A 3D printer first creates a resin model based on the design.
- Molding: A silicone mold is then created from the resin model.

Oren Comb Model
-
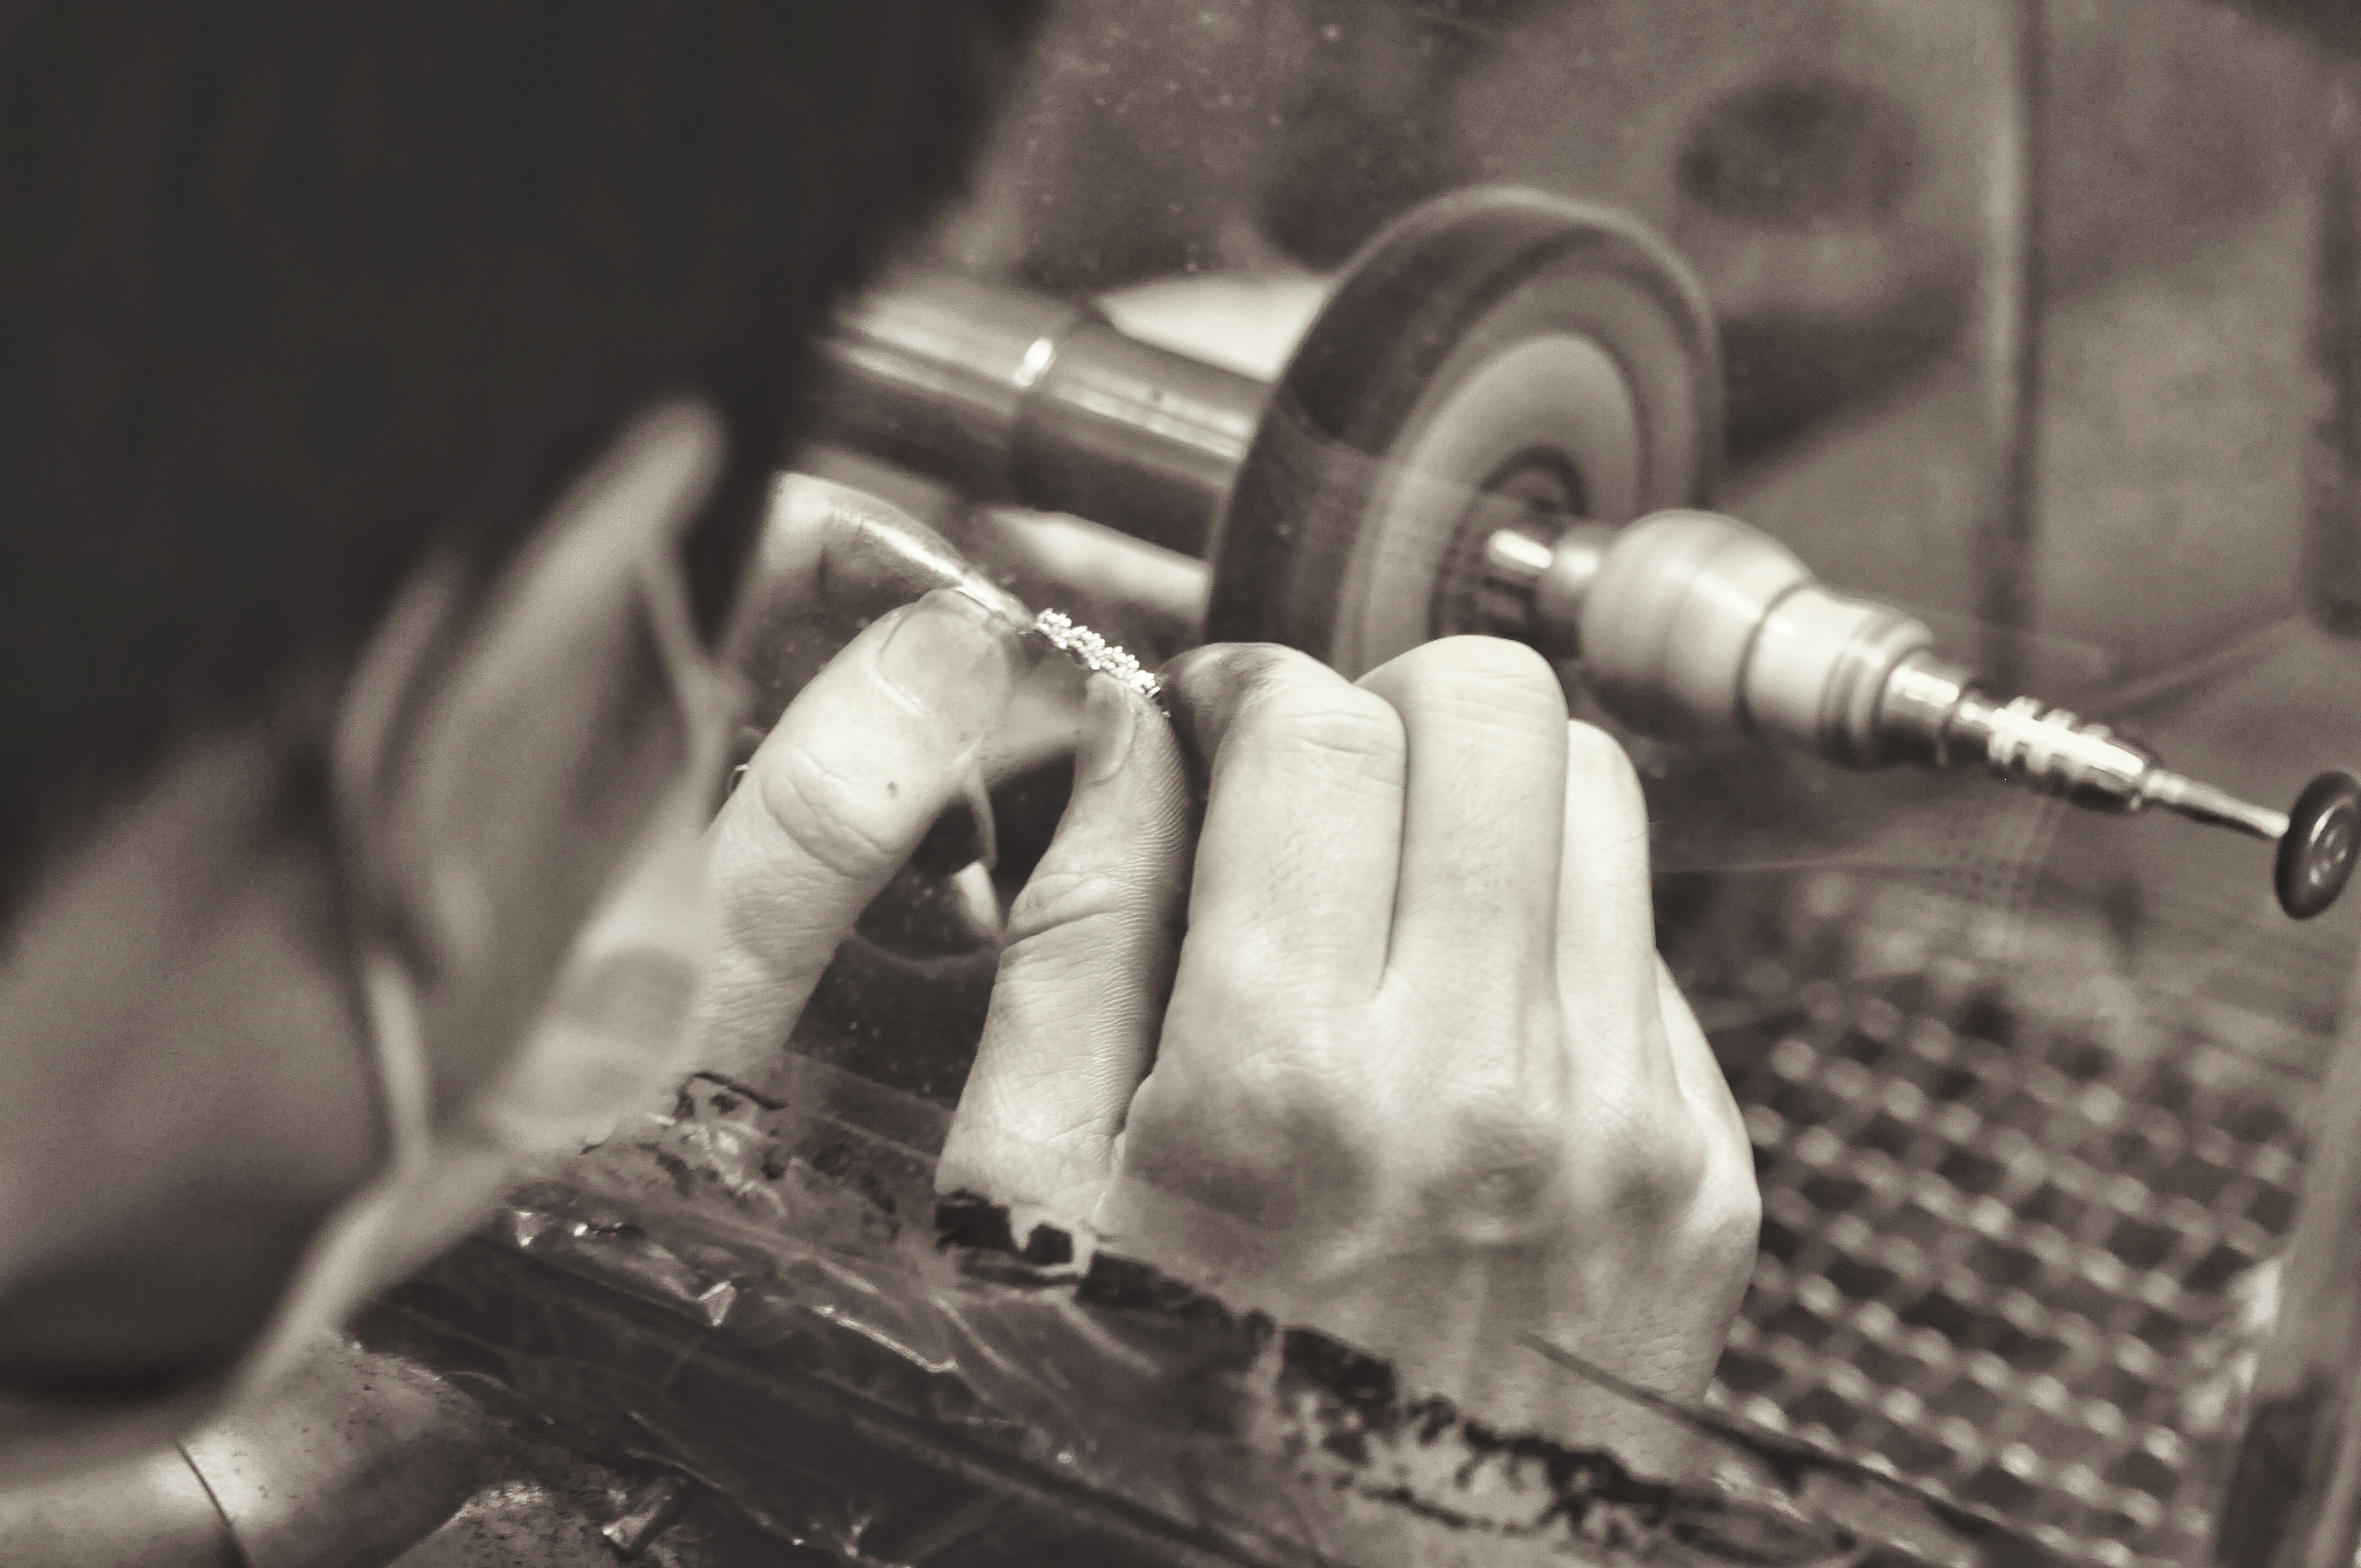
Jewelry Production The foundry crafts the jewelry from the tool or mold, polishes, and shapes it.
The welder attaches the clasps. -
Gilding The jewelry's surface treatment by electrolysis is done by a gilder. The finish will be either silver or gold-plated, depending on the model.
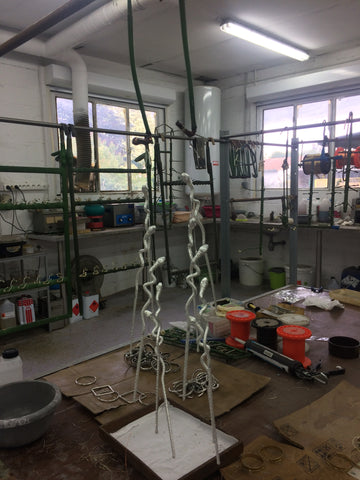
Eliott Serpent Hairpins Drying at the Gilder’s
When you purchase an Ozaelle hair accessory, you’re helping to sustain all these artisanal skills in France! 🐔
Written by: Charlotte
What particularly surprised me when I discovered the world of jewelry design was the number of different professions required to make it.
Here are the key steps in the making of an Ozaelle hair jewel. Each one requires specific knowledge.
1. The design
Once I have imagined the jewel and, after sketched it on paper, a designer formalizes its design, either in 2D if the piece is to be made by cutting a brass plate or in 3D if the piece is to be made with a casting. 
3D design of the Oren Comb
2. The design of the cutting tool or mold
The expertise here differs according to the process of realization:
- For jewelry made by plate cutting (such as barrettes): brass tooling is made from the 2D design. It will be used as a basis for realizing all future productions of the model.
- For jewelry made with molding (like combs and hairpins):
- 3D printing: a 3D printer first makes a resin model from the design.
- Molding: a silicone mold is then created from the resin model.

3. The production of the jewel
- The smelter makes the jewelry from the tooling or mold, polishes it, and shapes it.
- The welder fixes the clasps.
4. Gilding
A gilder carries out the surface treatment by electrolysis of the jewel. Depending on the model, the finish will be silvered or gilded with fine gold.

When you buy an Ozaelle hair jewel, you contribute to the fact that all these craftworks and artisanal savoir-faire stay in France! 🐔
Written by: Charlotte

8 perfect hairstyles to hide oily hair
Your hair tends to get greasy quickly and you didn't have time to wash it this morning? Do not panic, we offer you 8 easy and quick hairstyle ideas to camouflage oily hair . Styling your hair re...
Read more